How to copy a plan in a group only using power automate
One of the issues with Graph API access is the security. Since some actions require Group read/write/all access, it may be hard to get admin consent for Graph API due to security standards of your organization.
Below is a simple workaround that we can use to copy a plan only using SharePoint and planner connectors in Power Automate(flow).
First, let's look at the limitations of this flow:
- Flow(Power Automate) planner connectors do not have label related actions therefore, we cannot copy labels using flow
- Flow planner connector cannot create plans therefore, we need to first create an empty plan and get the Group ID and Plan ID
- Flow connector doesn't create checklist items.
To be clear, this automation will not copy labels or checklist items in the plan.
Like all my automatons, I will break this down to a few stages and explain:
1. Create a planner template as a list in SharePoint.
2. Copy the template to new planner and create tasks
3. Assign each task
Here is a sample plan that we need to copy to a new plan.

Now let's begin
Create planner template in SharePoint
1. Export this planner into an excel sheet

2. Replace the "AssignedTo" field values with email id's instead of names. For multiple assignments, you can separate email ids using a semi-colon.

2. Now, let's create the SharePoint list template. Go to any SharePoint site. Click New > List
For this example, I have created a sample SharePoint site however, you can use an existing site for this. My list is "CRM Plan Template".
Now, let's add all columns to this list as per the plan spreadsheet.

Click "quick edit", this would open the list in a excel sort of format
Copy the plan spreadsheet and paste it directly here.
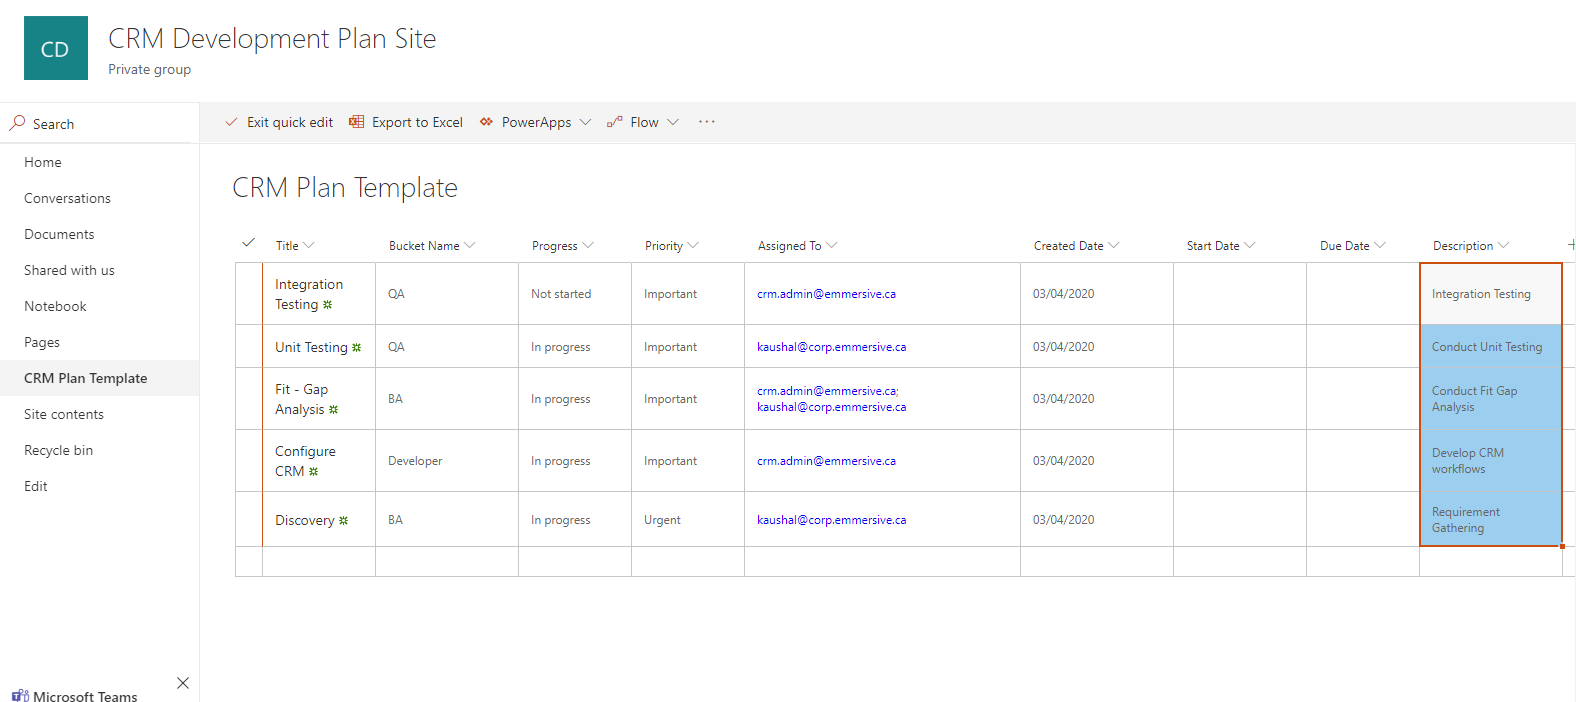
Click "Exit quick edit". Now the template is ready
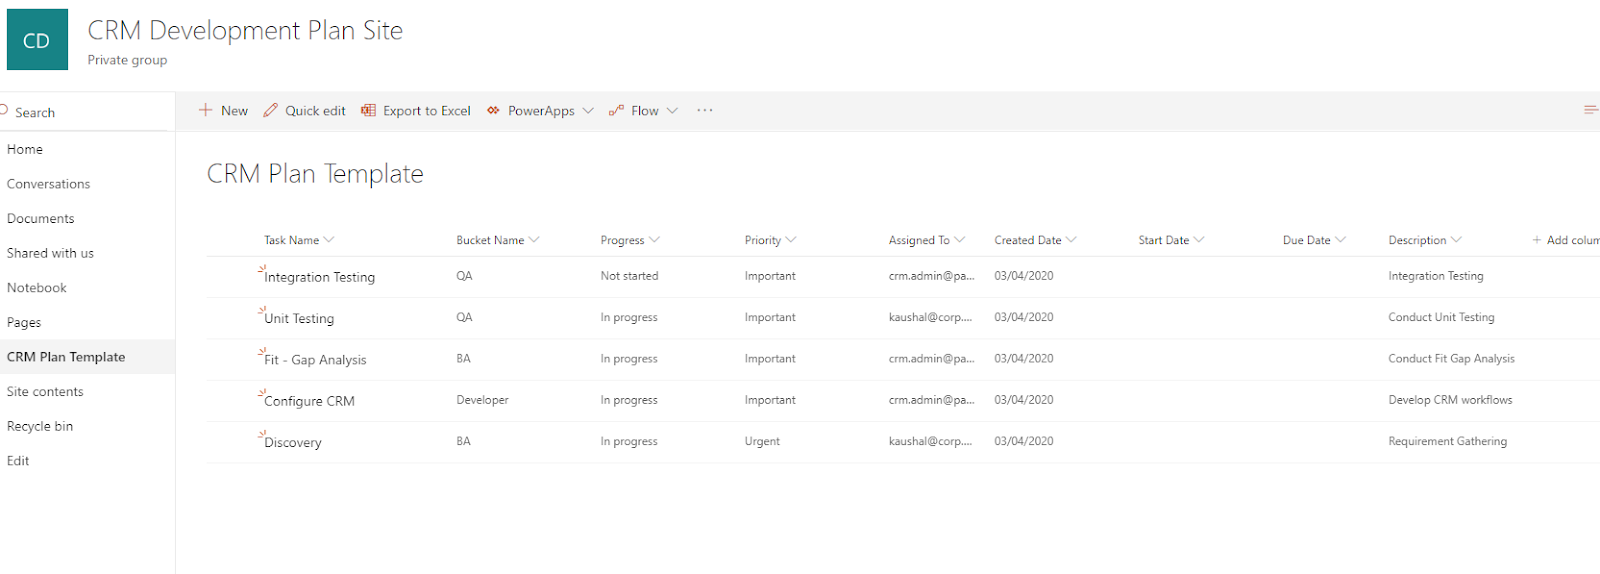
3. All set! Now we can create the power automate flow.
Flow Steps
1. Flow type > Instant Flow
.2. Trigger - Flow button with two variables ( Group ID & Plan ID) These variables will be used to point to the new plan which needs to be updated with the template.

2. Get the existing bucket names from original plan and create same buckets in the new plan.

To further explain above step, we are getting all the buckets from the original plan and creating the same buckets in the new plan that we point to using the Group_ID and Plan_ID variables
3. Get the buckets for new plan and list all items from SharePoint template

Now let's setup a condition to match the bucket names in both New Plan and the SharePoint list template.
All you have to do is to add a condition as the next step and configure as below:
Bucket Name(SharePoint List) is equal to Bucket Name( New Plan)
Flow will automatically put the condition inside two "Apply to each" containers. This is because validation will re-iterate for each list item and each bucket

Let's re-examine this flow, we have now put a condition that would identify list items with a similar bucket name as the new plan
Now, we need to create new plan tasks accordingly. Under "If yes" we can add a create planner task action and configure as below:

You can map the values from SharePoint list columns as needed. You would have noticed that the create tasks doesn't let you update descriptions.
We can do this with "Update task details" action

Testing the flow
- First, we need to create a new plan. I will create a new plan with the name "TEST New Plan"
- Then I will assign relevant team members to this plan
- Copy the GroupID and PlanID from the URL
Now let's run the flow. Enter the GroupID and PlanID in the relevant fields

Tasks show up in the new plan now

Important - This can also be done by just using excel spreadsheet. I used SharePoint so that we can maintain any changes to the plan template and track it as necessary.
Otherwise, we can just use excel connector, read rows directly from the spreadsheet and create planner tasks. This is much more simple.
Depending on the requirement, you can select the best method and implement the flow. You can also add more actions, alerts etc.
Happy Learning!


Comments
Post a Comment